My first steps were to choose the software needed to make the sculpture and then to try it out.
Software Choices
Before joining the MA course I had already extensively researched the available software for making the sculpture and selected:
- The Occipital Structure Sensor with the iPad mini and ItSeez3D cloud services for scanning a live life model
- DAZ3D for their ready made 3D models, and POSER for its ability to pose the model as I wanted, and
- Autodesk 123D MAKE to produce the instruction input to a laser cutter
The reasons behind my choices are explained below:
I have experimented with the Structure Sensor (similar to a Microsoft Kinect but attachable to an iPad) with their 3D scanning software but found the latter did not have the quality output I had hoped for when used on a full body scan. This was because their scanning software ran on the iPad which is not sufficiently powerful.
So I looked around on the internet for alternative cloud based services (which use much more powerful computers) that I could use with the Structure Sensor on my iPad mini. I experimented with Itseez3D and this produced better results. This service is also free (possibly only for the time being).
I also recently attended a two day one to one training session at XChange Training in London. My instructor Matthew O’Neill was very knowledgable on 3D software in general and Cinema4D (C4D) in particular. I showed him my work with the Structure Sensor and Itseez3D (the ‘Colin Blackmore’ head and shoulders model in my video). We discussed the software options for painting in 3D (not a 2D snapshot of the 3D model) and this limited the options considerably. I chose Cinema4D (C4D) for reasons I will explain later in another blog on 3D painting. He advised strongly not to try and learn to rig and animate a model as even an expert would take a dedicated week or more to produce 5 seconds of animation. This led to a discussion on ready made rigged models which I could pose using DAZ3D, POSER, and Turbosquid (more on this later in a future blog on 3D animation). I chose DAZ3D and POSER for ready made models for the 3D sculpture.
We discussed using C4D for making the sliced model to be input to a laser cutter. After showing me how this could be done in C4D I suggested that dedicated rather than generalised multi purpose software would be much easier to use. We looked at my suggestion of Autodesk 123D MAKE and he agreed.
This week I acquired a free download of DAZ3D and found that it had some limited posing capability. I also obtained a free download of Autodesk 123D MAKE. These were the versions for my MacBook Pro.
First steps using the chosen software
I decided that I would first experiment with a ready made model. Incorporating the scanning process on a life model in a studio is a step too far at this stage.
This is what I managed to produce after about an hour.

My first pose ever in DAZ3D, which I then exported to 123D MAKE, and then to C4D
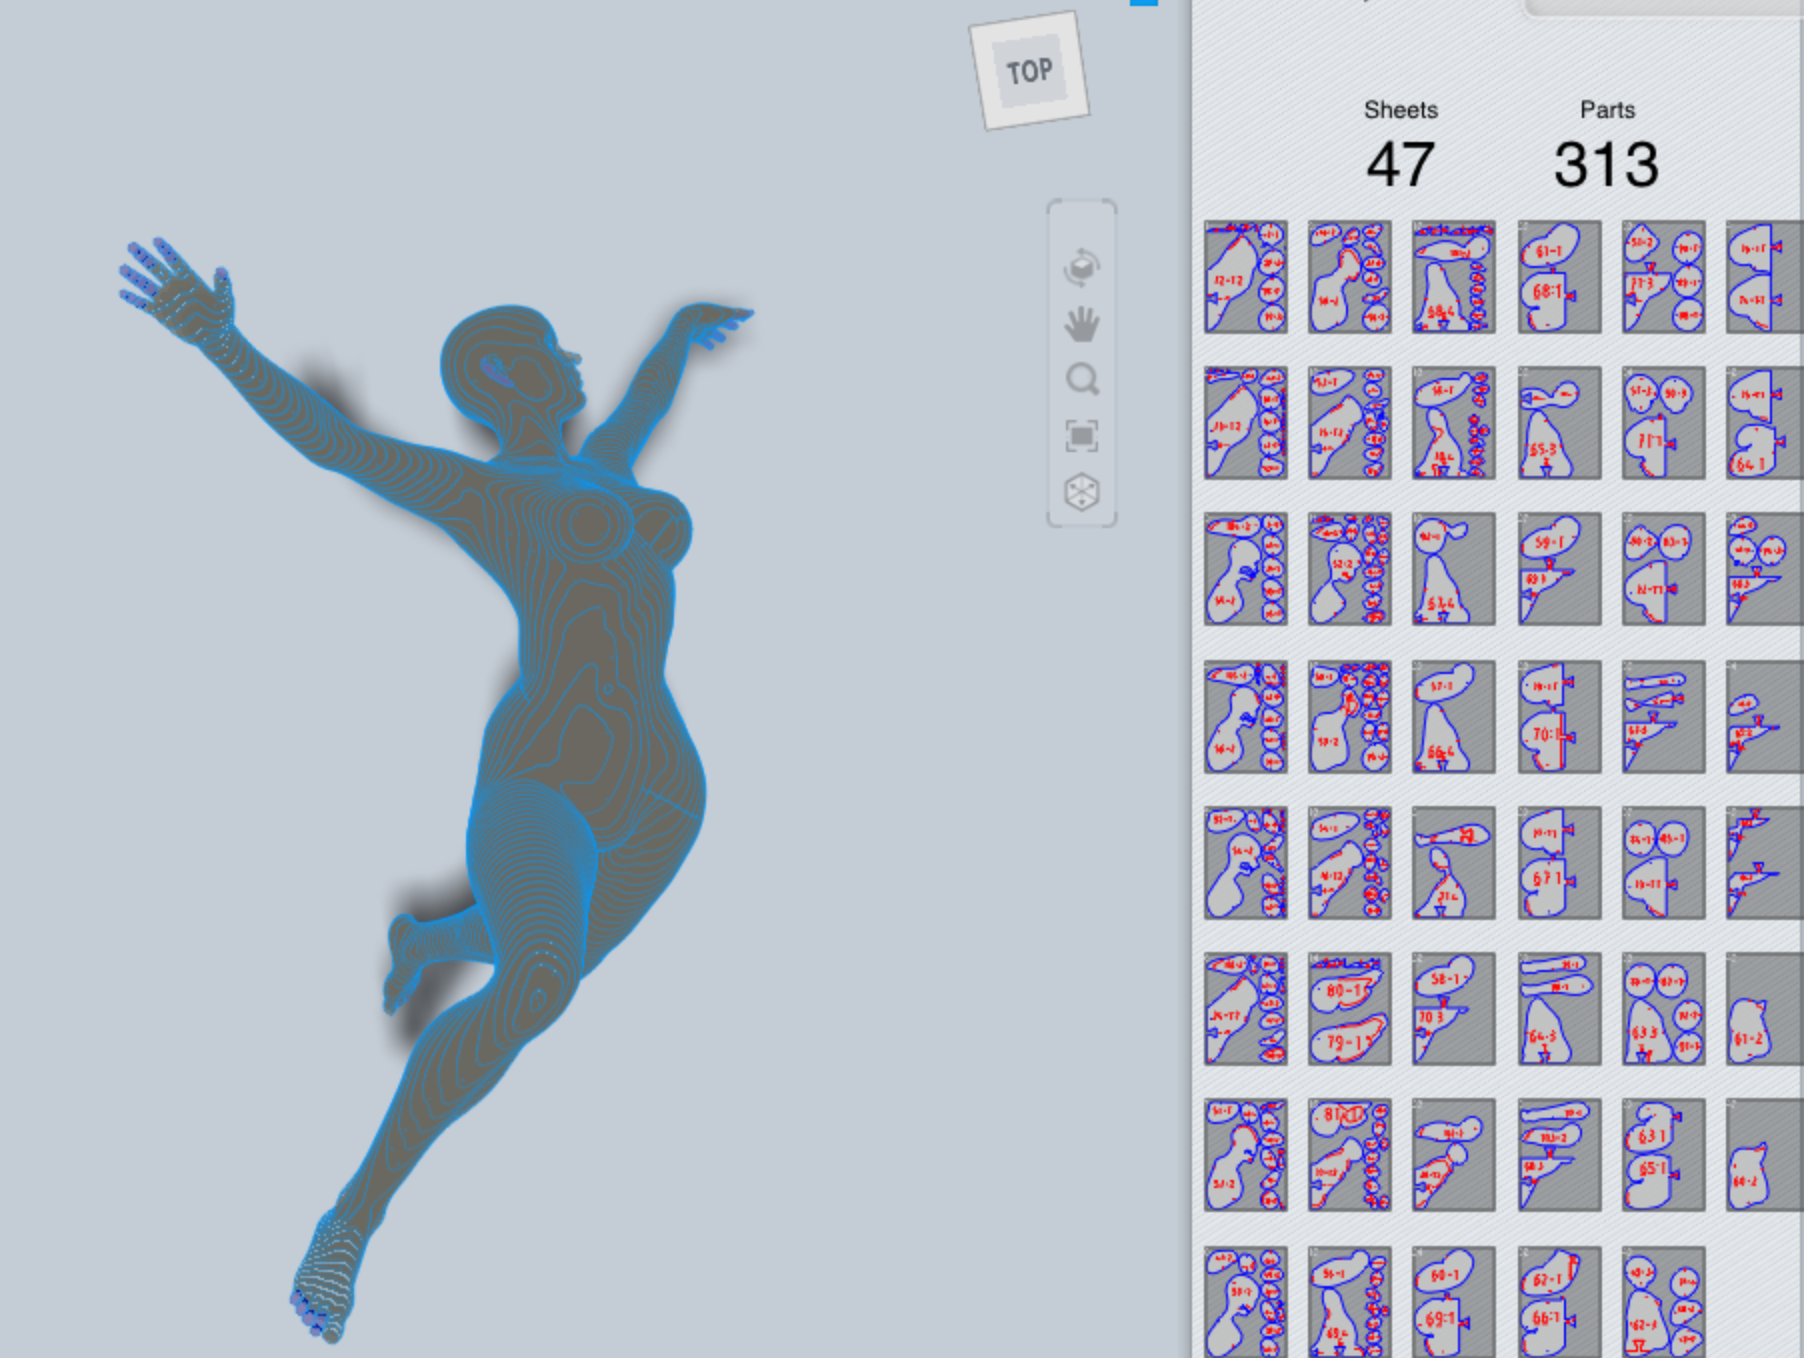
My first pose ever in 123D MAKE
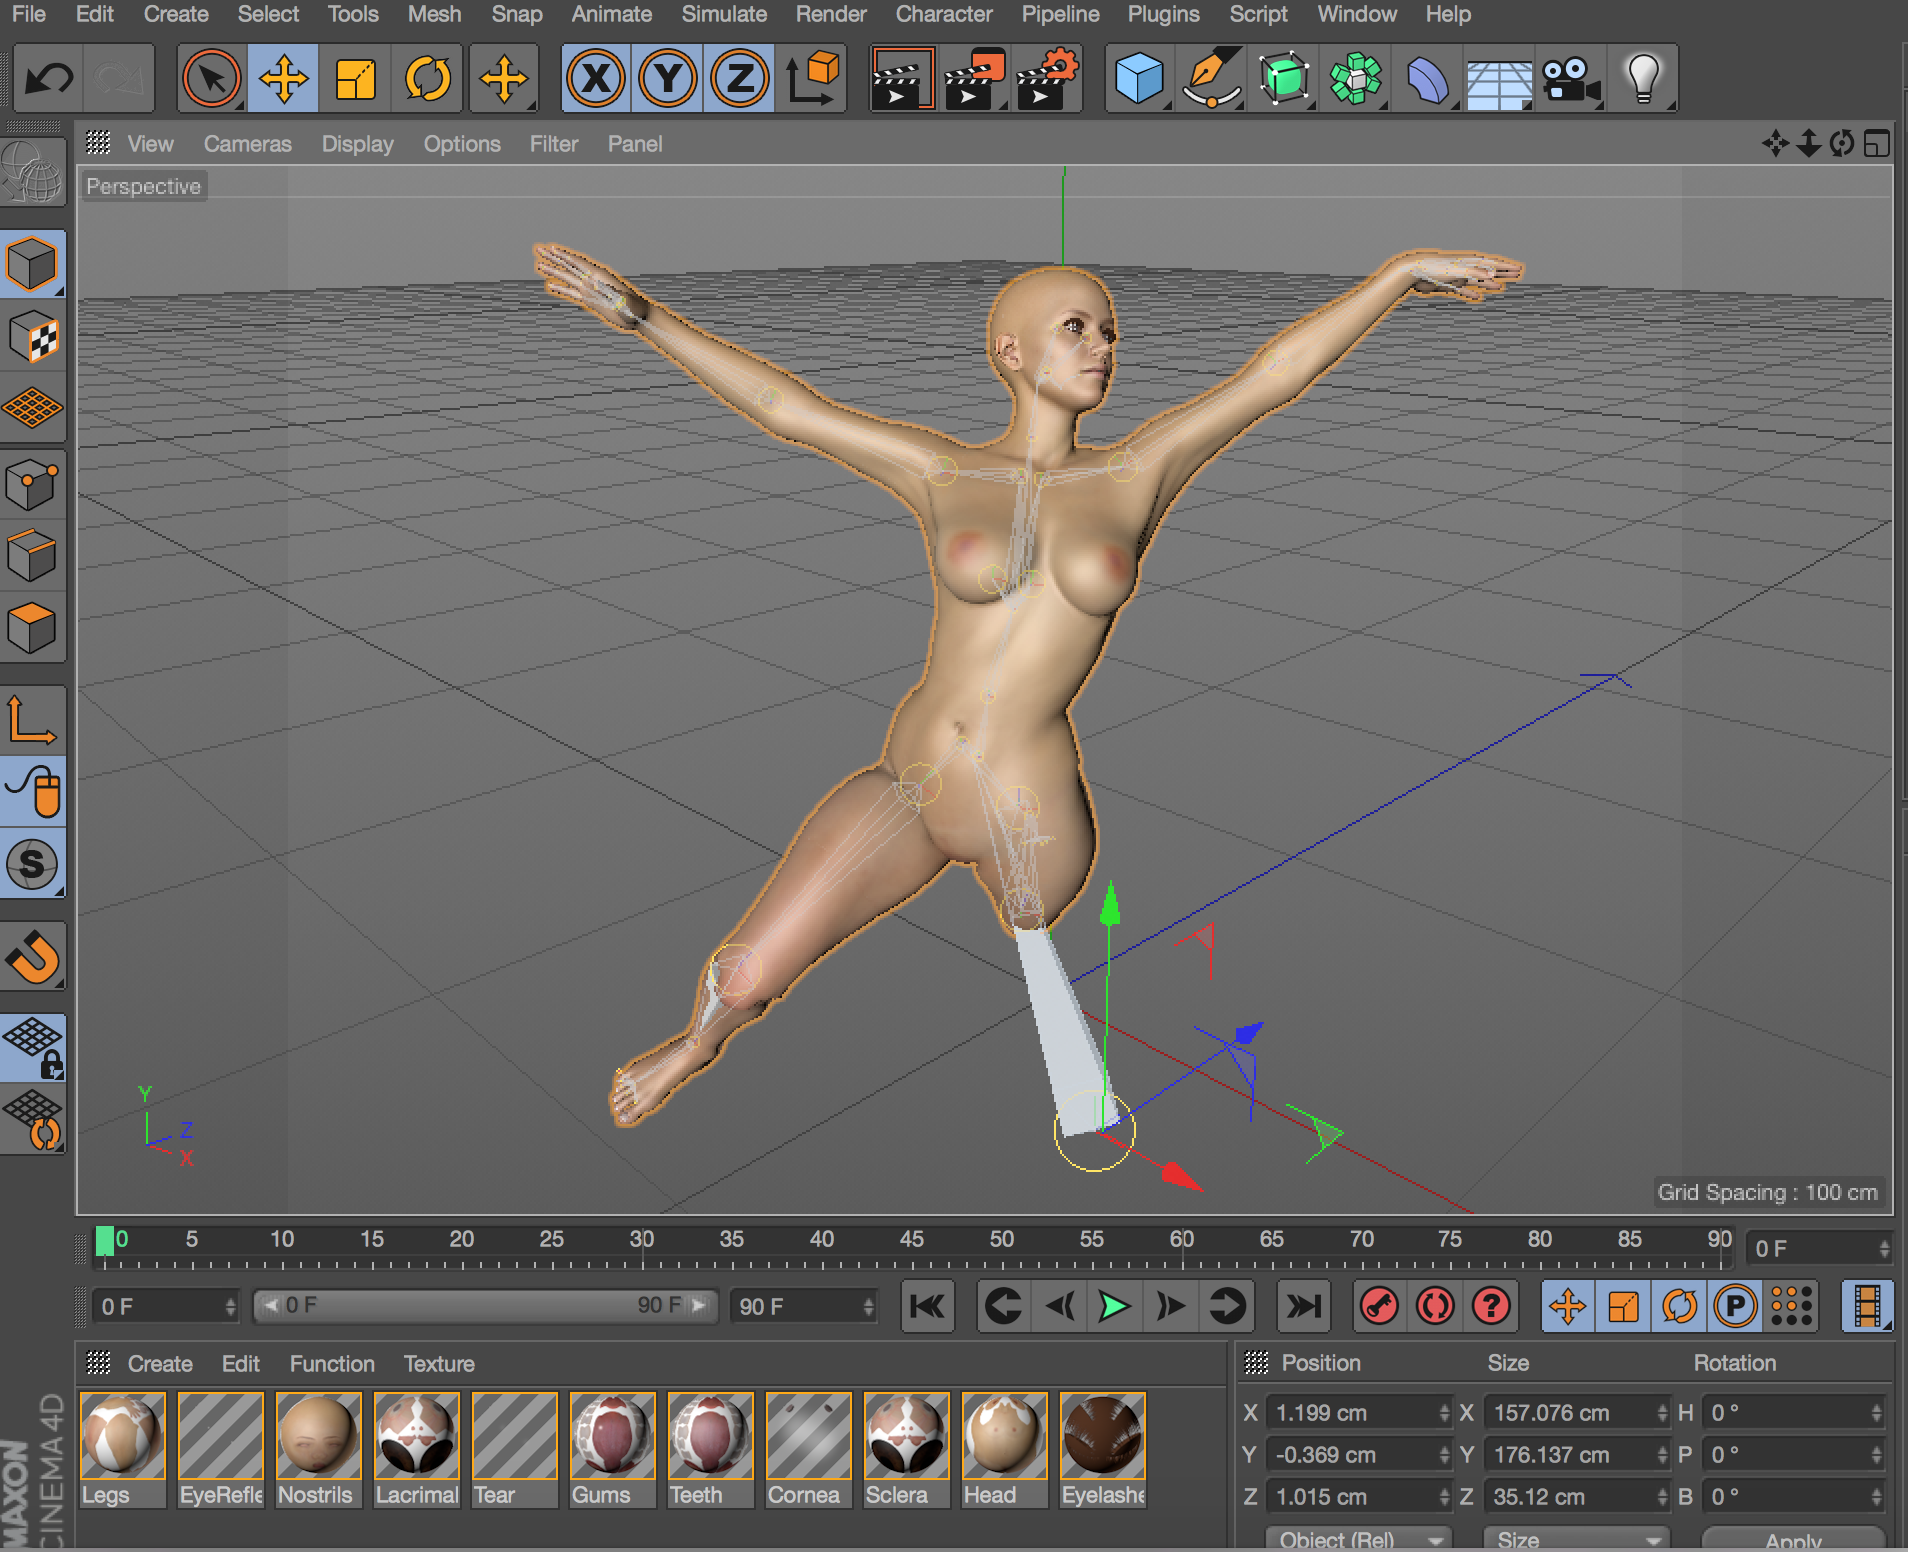
My first pose ever in C4D – a rigged model
I was pretty pleased with what I achieved but there is a lot to learn to do this properly. I have also yet to try POSER to see what this software offers to see whether I can get a more refined result.
I am meeting Matthew Edwards, one of our Digital Technicians next Friday. I hope to discover where I can use a laser cutter and the format required for the input file needed to cut 47 sheets of MDF!!!
More Next Week.

Pingback: Unit 1 Assessment | terencemquinn91