I met with Matt Edwards today, one of the senior technicians in the Digital Media Department in the old building for post grad students at Camberwell School of Arts. Following Jonathan’s comment that I had 5 MA’s in my proposal (see my earlier blog) I needed to check out what is possible in a single MA (haha).
First I was delighted to find that Matt is a graduate of the same MA course that I am on. He is also now furthering his studies in order to teach. So I value his opinion as an artist and one who knows from experience what the course demands as well as someone who can provide technical support and advice. He is also very approachable, knowledgeable and enthusiastic.
When I first described my study proposal to Matt he was inclined to agree with Jonathan, but by the end of our discussion HE THOUGHT THAT I COULD DO IT ALL! That is great news but we will see. I think that I will set out a more limited set of projects in my proposal and see how I progress. If I am well ahead in year 1 then I will press on with the remainder of my projects as outlined in my video.
I explained my approach to simplify the tasks ahead and make them much more manageable: If anything will take me more than a day or two (preferably an hour or two) to learn the basics (not to become proficient) then I will automatically reject it as impractical for my proposal. I explained that was how I looked for and found AUTODESK 123D MAKE when Cinema4D (C4D) can do exactly the same thing. C4D is very comprehensive and generalised so that it can be adapted by many different users for their own specialisation and desired outcomes. I would therefore have to learn more complicated tasks than I care to and the C4D method for making an input to a laser cutter is also very long winded and repetitive. So I looked for and found a short cut namely AUTODESK 123D MAKE which took me 30 minutes to learn and I was able to demonstrate to Matt.
I was pleased to discover that at Wilson Road we do have the Laser Cutter I need to make my sculpture. Matt did say that this is very popular device so to get in quick. He said that most of the foundation students there use it for making far simpler objects than I had in mind and the technicians there might find my project quite interesting. Advice that I will definitely take by first meeting the technician responsible and explaining my project. Another task for next week.
Matt was hugely interested in some of the technology I demonstrated and wants me to show it to his head of department, which I agreed to do. First of all he wants me to show the Occipital Structure Sensor attached to my mini iPad, and how I use it and Itseez3D cloud services to produce a textured 3D model of a person or object. This model is of very high quality and can be made in the classroom in less than 10 minutes.
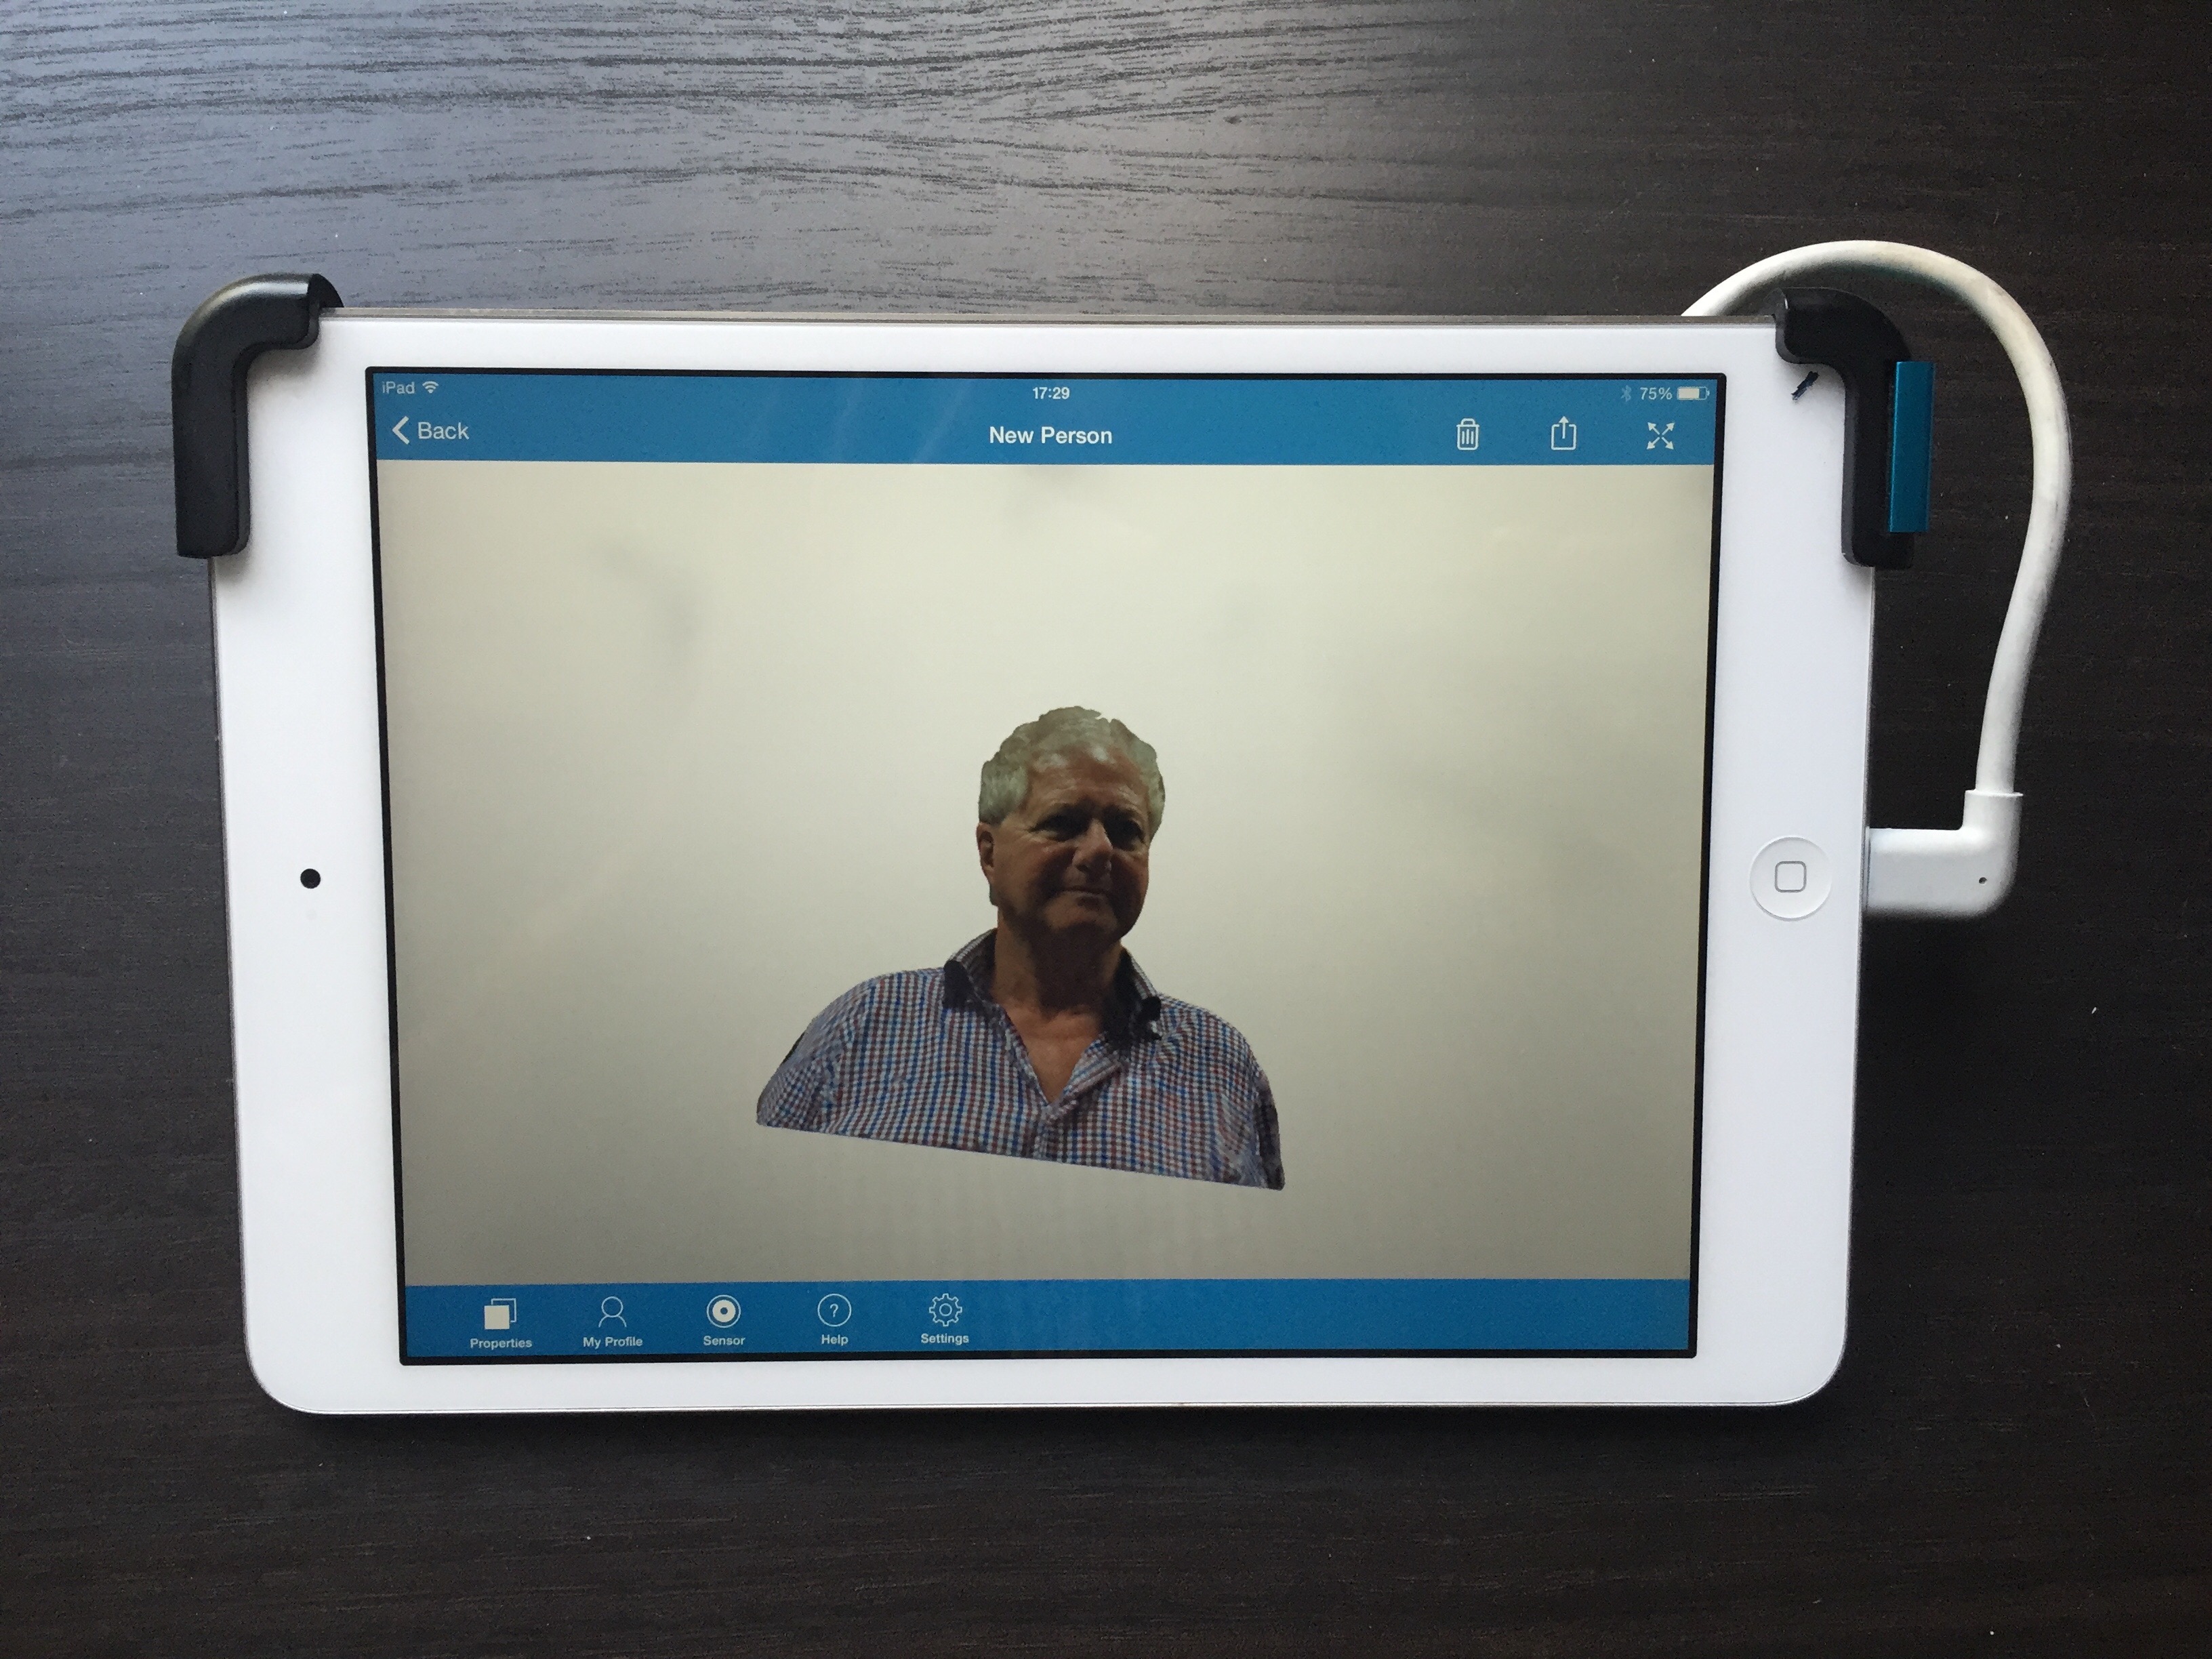
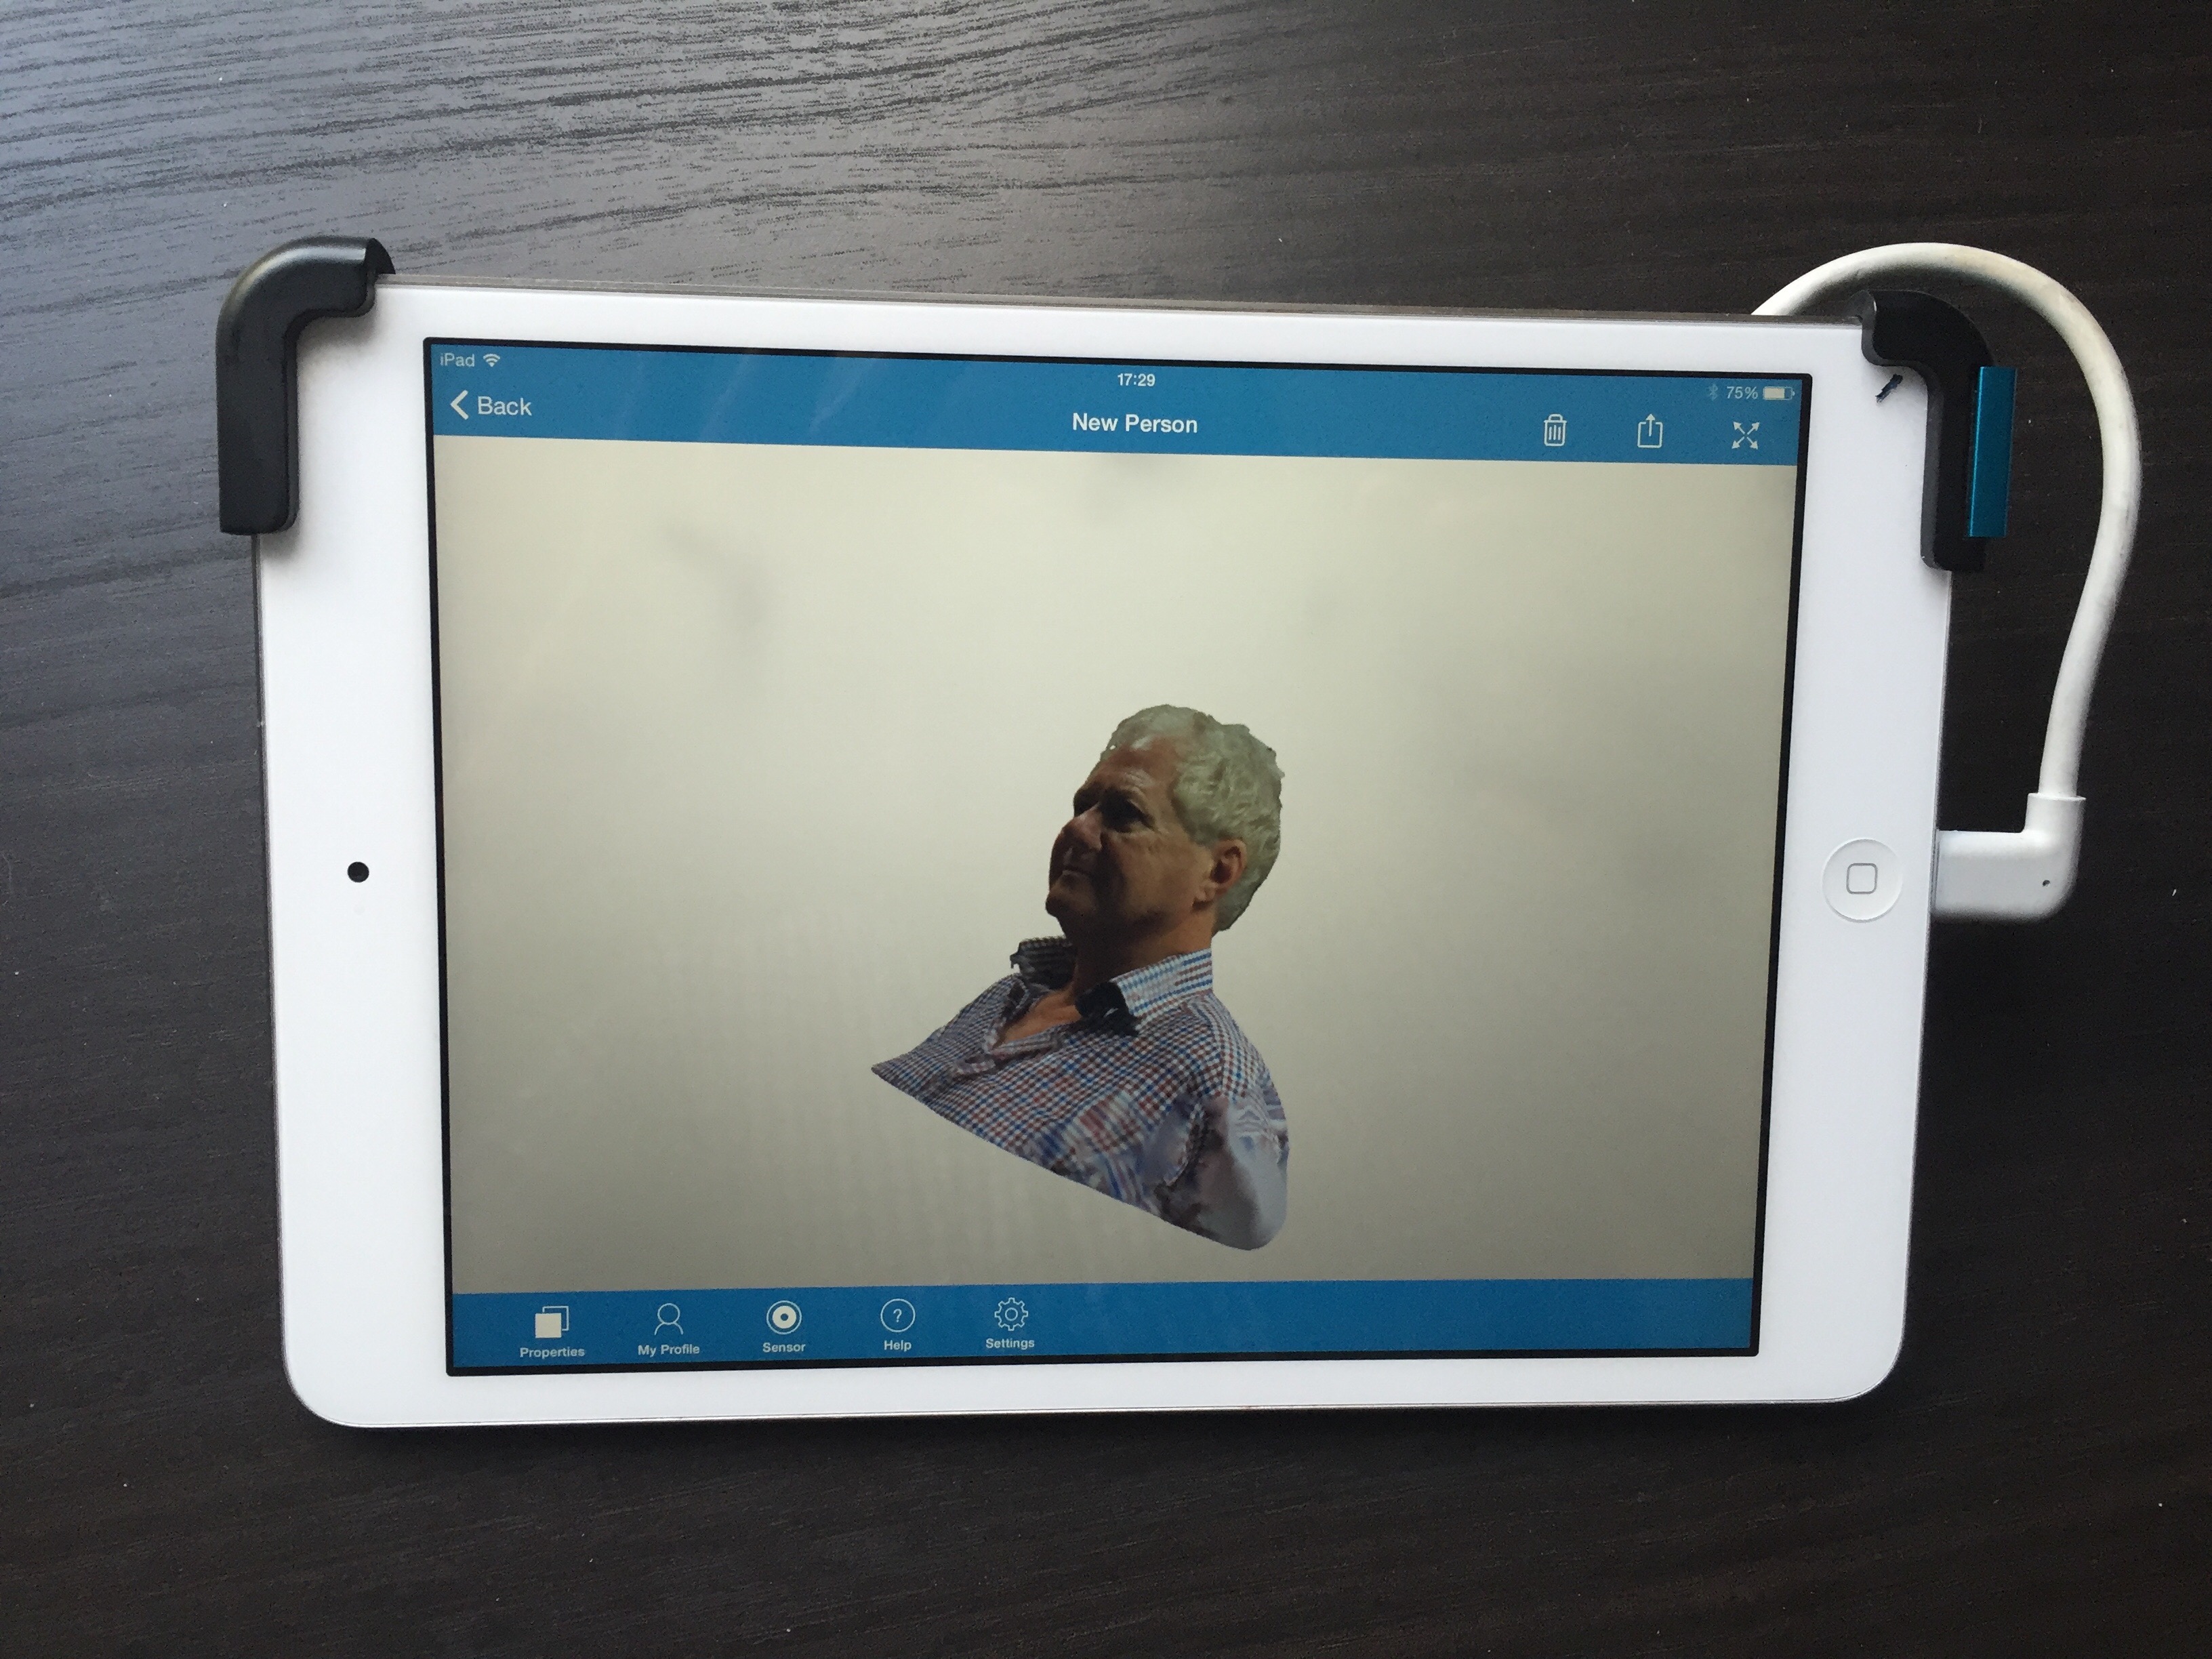
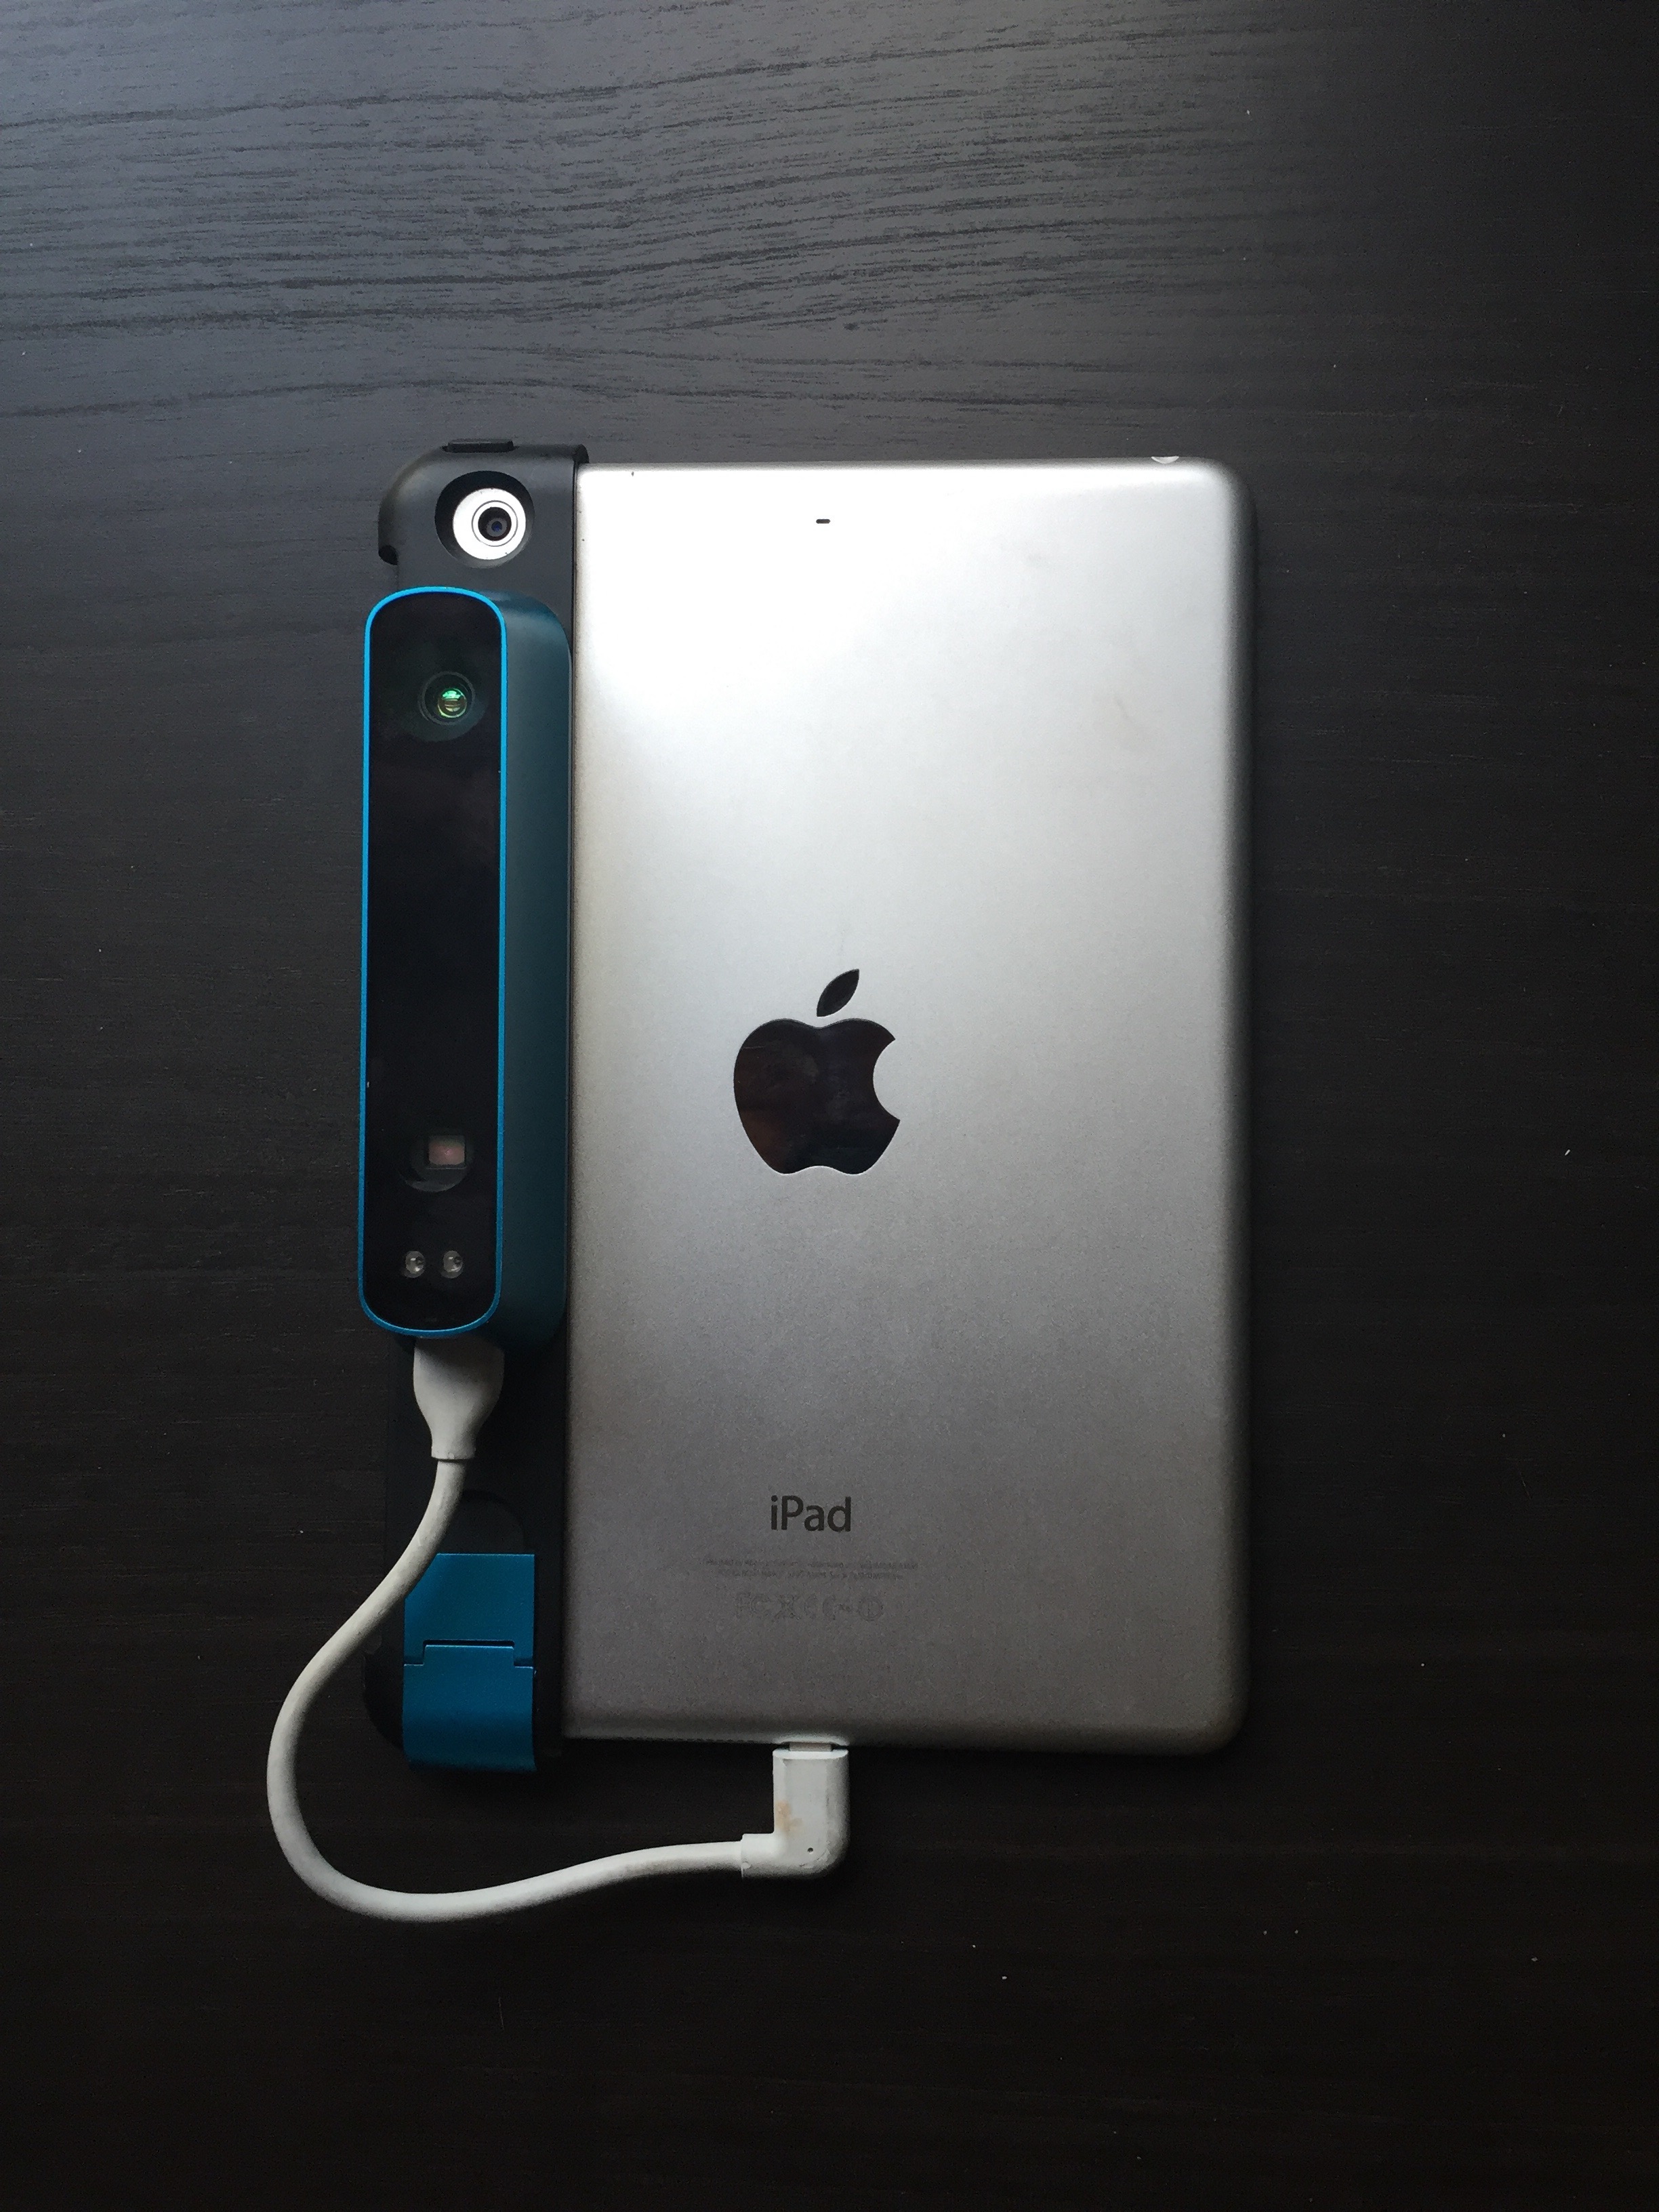
The Structure Sensor -A very quick (3 minute) scan (of me) by a first time user with no experience
Matt would also like me to show how this 3D model can be exported to other 3D software such as C4D or 123D MAKE in less than 15 minutes.This is another example of finding shortcuts which in this case means I do not have to learn or become proficient in C4D 3D modeling or sculpting.
I explained that my main time consuming tasks would be physically assembling the sculpture and in particular learning to paint 3D models in 3D using C4D’s Bodypaint 3D and the Intuos graphics tablet. I need to produce non photo-realistic 3D life drawings in charcoal effect (to limit the use of colour – as more learning and practice is otherwise needed!) to the same standard as my traditional 2D life drawings (see below for an example). But this is how it should be – focusing on producing Art not on the technology.
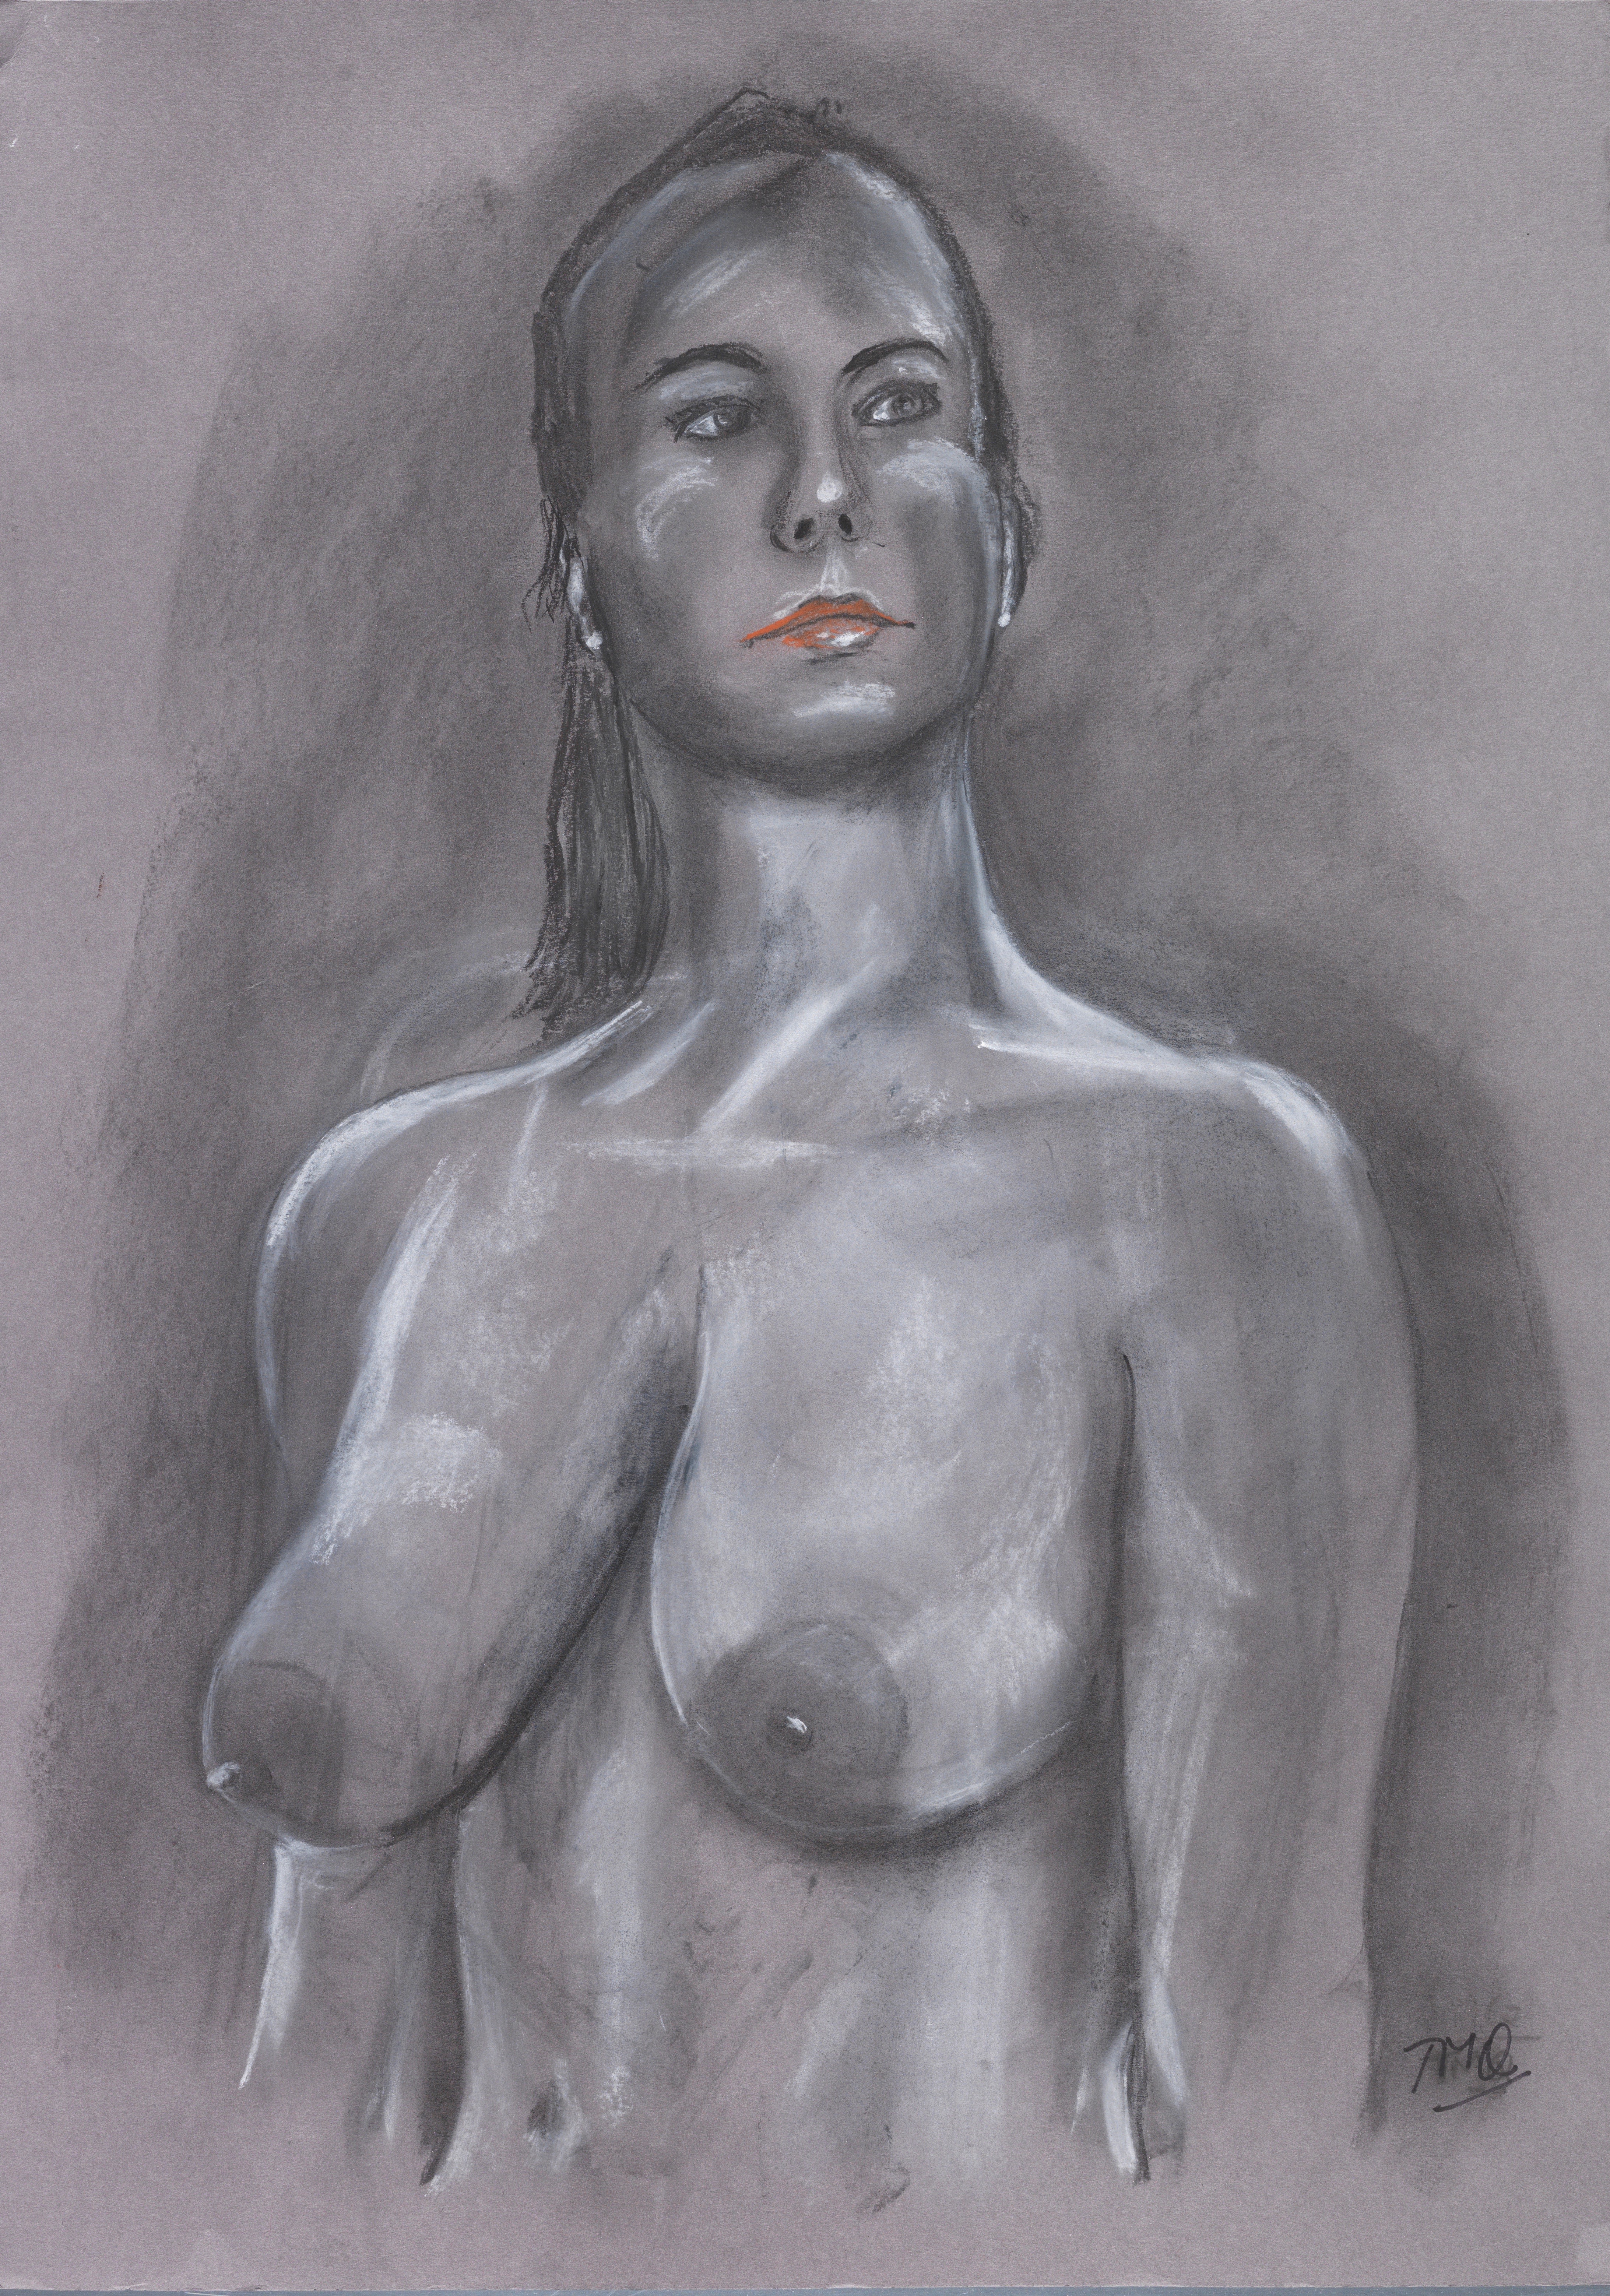
In my 3D painting the above drawing would be capable of being progressively rotated so that you would see the same posed drawing from all sides. You cannot do this in 2D as you would have to make another 2D painting from scratch for each view you wanted to look at. Whilst there are examples of other artists’ work in this area I could find none that worked from life to produce an artistic rather than a photographic or photo-realistic result. That was after long days searching on the internet. So I think that I am breaking new ground here. If anybody can show me a 3D charcoal drawing from life that can be rotated by the viewer please let me know.
I was delighted to find that the Digital Media department not only have and know about the Intuos tablet but they also have a Wacom Cintiq tablet (which allows you to draw on the tablet itself rather than the Intuos which effectively uses a pressure sensitive pen as a mouse for the computer that it is attached to). So they can help me set these digital tablets up and become familiar with their use. Very useful as at present, even though I have a large Intuos Pro, I have not used either! The MA Illustration students know all about this so perhaps (PLEASE) they might offer to help me too.
I have taken the same approach for producing a drawn rigged and animated 3D model. Except this time the model is taken from those sold commercially and offered in a format acceptable to C4D, usually from DAZ3D or Turbosquid where the model can be posed using software called POSER 2014. This software is comparatively very easy to use (I have experimented and produced results using DAZ3D in less than 30 minutes – see my last blog).
With rigging and animation thorough checking is required before you buy them ready made as outcomes can range from it works out of the box to minor tweaking or major effort and skill to make it work in another software package from which the acquired model originated. However, you don’t have to do the checking. Turbosquid for example will do this for you for free. Then avoid anything that needs a lot of work or skill. Try to get something that works out of the box in your chosen 3D modeling package (in my case C4D). So again you can concentrate on painting the UN-animated view of the 3D model as before. Then run the ready made animation this time with your painted model and export it to iMovie (as I did in the crude example in my video blog). So again a shortcut rather than a massive learning curve. More on this in a later blog when I will show my experience finding a suitable animated model on which to base my work.
As Matt pointed out to me this is a valid approach as in the commercial world and due to the complexity there are specialists in C4D as with any other 3D modelling software package. For example, in modeling and sculpting only, in lighting only, or rigging only etc etc. So my chosen and very limited specialisation is …. wait for it …..C4D life drawing in 3D employing only a non-photorealistic charcoal effect and no background or a 2D one from a photo. This is as much as I can cope with if I am to be realistic about including this project in my study proposal.
We also talked about Leap Motion where the viewer can in my case rotate the drawn 3D model at a distance with hand gestures. I am glad to say Matt has taken the Leap Motion out of the box (I haven’t), deployed it and says is easy to use. So hooray, more help available here too.
Thank you Matt. We are meeting again next week.
I am encouraged.

Pingback: Unit 1 Assessment | terencemquinn91